
 1301
1301
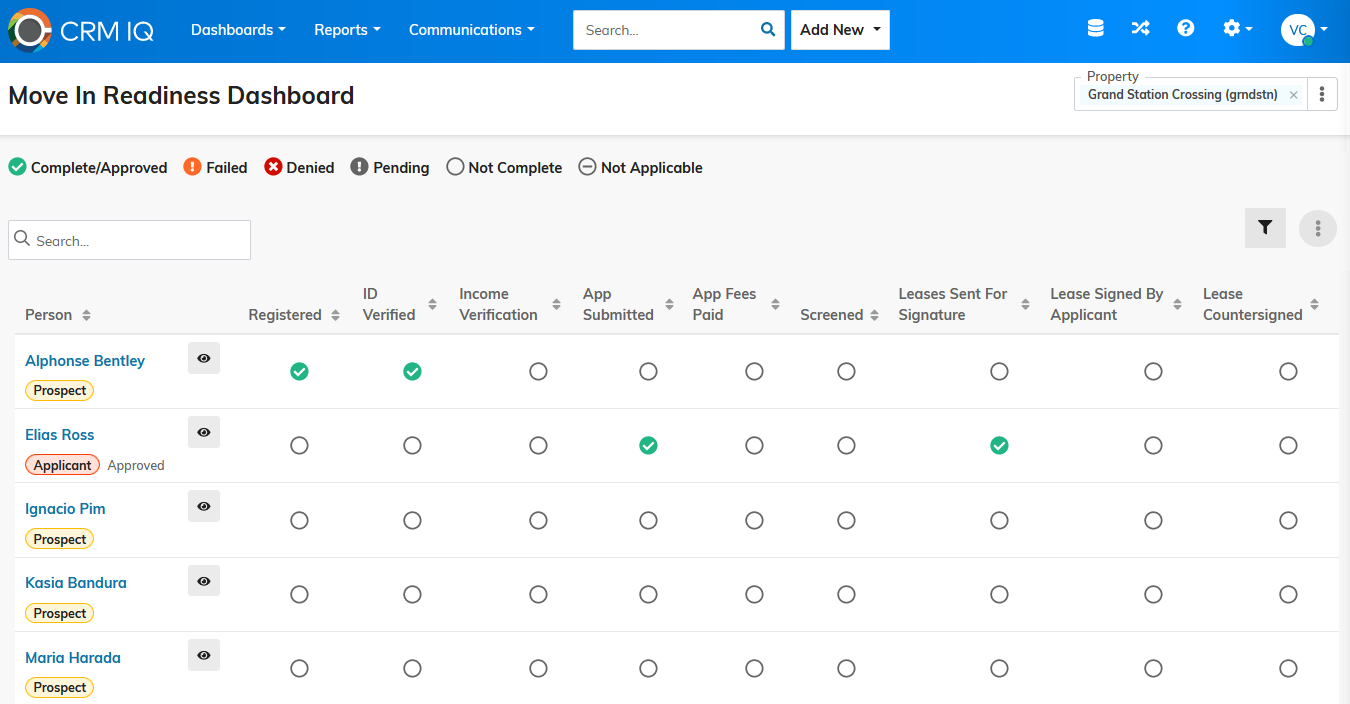
The Move In Readiness dashboard keeps track of the steps which prospects need to complete before they are ready to move in at your property. From this dashboard, you can get a quick glance at the various markers of move-in readiness, such as whether the prospect has:
- Registered for a RentCafe account.
- Had a unit assigned to their application.
- Paid their application fees.
- Had their application approved.
- Signed their lease.
You can customize the data points that you want to track on the Move In Readiness dashboard with table views.
Move In Readiness dashboard filter
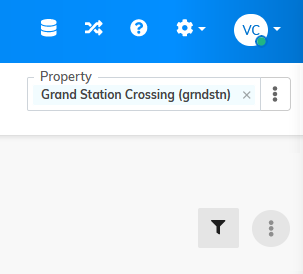
You can filter the Move In Readiness dashboard by property or property list with the Property filter located in the top-right part of the screen. You can limit your property choices to only inactive properties when filtering by property.
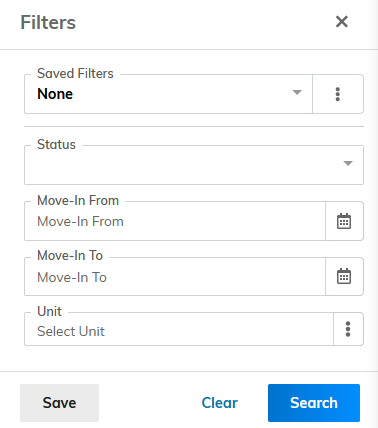
In addition to the property filter, there are additional dashboard filters listed under the Filter button ![]() .
.
|
Status |
The status of the customer at the selected property. Options are Prospect, Applied, or Approved. If you choose Select, the dashboard shows results for all statuses. NOTE By default, the Move In Readiness dashboard filters by customers in the Applied status. |
|
Move-in From |
Customers with an expected move-in date after the date entered in this field. |
|
Move-in To |
Customers with an expected move-in date before the date entered in this field. |
|
Unit |
Specific unit for which you want to view a customer's move-in readiness. |
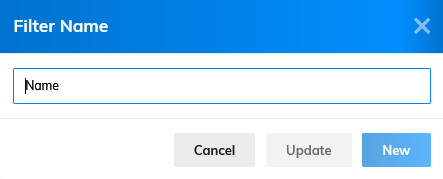
If you want to save your filters, after you set the filters, click the Save button. On the Filter Name screen, enter a name for the filter, then either click Update if you want to overwrite the current saved filter or click New if you want to add a new saved filter. You can choose the preconfigured filters from the Saved Filters menu.
Move In Readiness dashboard data grid
The data contained in the data grid depends on the selections you make in the dashboard's filters and the table view you have selected.
NOTE: You can change the order in which data points appear in the data grid when customizing your table views.
The following table describes every possible data point you can include in the Move In Readiness dashboard's data grid.
|
Column |
Description |
|
Person |
The customer who has a prospect relationship at the property. You can drill down to the prospect relationship record by clicking the person's name. NOTE This field cannot be removed from the data grid when customizing the table view. |
|
Registered |
Whether the prospect has registered for a RentCafe account. |
|
ID Verified |
Whether the prospect has completed ID verification and whether they were successfully verified. NOTE If your property is not using ID verification in the online leasing workflow, exclude this field from the table view. |
|
Income Verification |
Whether the prospect has completed income verification and whether their income was verified. NOTE If your property is not using income verification in the online leasing workflow, exclude this field from the table view. |
|
Unit Assigned |
Whether a unit has been assigned to the prospect's application. |
|
Approved |
Whether the prospect's application has been approved. |
|
App Submitted |
Whether the prospect has submitted their online application or had it submitted for them by a leasing agent. |
|
App Fees Paid |
Whether the prospect has paid their application fees. |
|
Screened |
Whether the prospect has gone through screening and whether they have passed screening. |
|
Lease Sent for Signature |
Whether the leasing agent has generated and finalized the lease. |
|
Lease Signed by Applicant |
Whether the prospect has signed the lease. |
|
Lease Countersigned |
Whether the leasing agent has countersigned the lease. |
Customize dashboard display settings
You can dynamically customize display settings in the dashboard grid through the Table Settings button. You can show, hide, and rearrange columns and save up to five table views for future use. You can also adjust row height to enhance readability and apply shading to alternate rows.
How to do it
- In the top-right part of the dashboard grid, click the Table Settings button
 . The Display Settings screen appears.
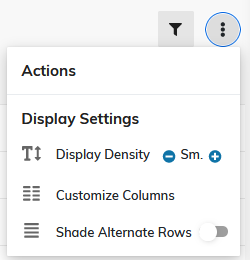
- To change the density of the data within the data grid's rows, next to Display Density, click either the Plus button
 or the Minus button
  .
. - To apply shading to every other row in the dashboard grid, select Shade Alternate Rows.
- To customize the dashboard grid columns for a table view:
- Select Customize Columns. The Customize Columns window appears.
- Select the checkbox next to each column you want to show in the data grid and clear the checkbox next to each column you want to hide from the data grid.
- If you want to reorder the columns in the table view, drag and drop the column names to where you want them to appear in the data grid.
- To save changes to an existing table view, click Save.
NOTE: If you customize the data grid without saving changes as a table view, the changes only apply until you navigate away from the dashboard.
- To save a new table view, click the dropdown next to the Save button and select Save As.
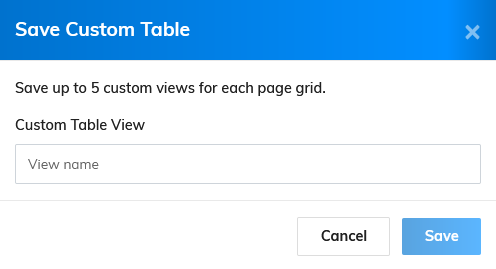
- On the Save Custom Table screen, enter a table view name, then click Save.
-
- To remove a saved table view, select the table view from the Show Table dropdown list, then click Delete. On the Delete View confirmation message, click OK.
After you finish
Set a default view for the grid by selecting one of the saved table views. The Move In Readiness dashboard uses this table view every time you open the dashboard until it is changed.
You can also make temporary changes to the data grid by customizing columns without saving your changes as a table view. Those changes disappear when you navigate away from the dashboard.

